
Windows에서 대부분의 프린터는 별도의 드라이버를 설치하지 않아도 PC에 연결하는 것만으로 자동으로 인식됩니다. 언제든지 부담없이 프린터를 추가하고 인쇄 버튼을 클릭하는 것만으로 인쇄가 이루어지므로 편리합니다. Windows 11에서 프린터 드라이버를 삭제하는 방법
| 목차 | |
|---|---|
그러나 일단 Windows에 연결된 프린터는 손상되어 사용할 수 없어도, Windows 장치에 표시됩니다. 여기에서는 불필요한 프린터 드라이버를 제거하는 몇 가지 방법을 소개하겠습니다.
Windows 설정 앱에서 프린터 삭제하기
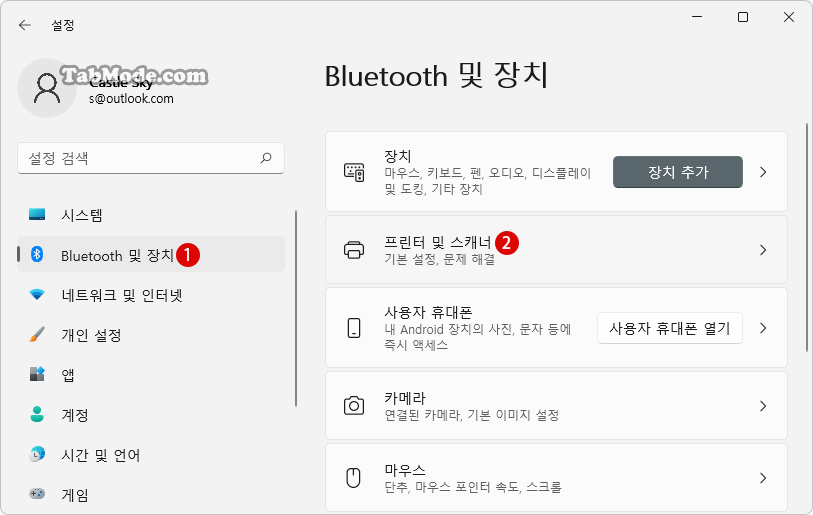
▼ 키를 눌러 Windows 설정 앱을 엽니다. 왼쪽의 1Bluetooth 및 장치를 선택하고 오른쪽의 2프린터 및 스캐너를 클릭/탭합니다.
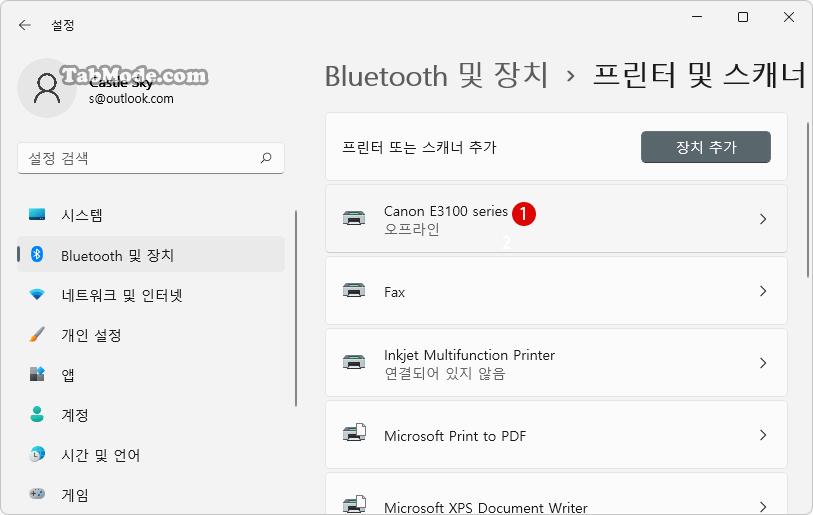
▼ 설치된 1프린터 드라이버를 클릭합니다.
▼ 프린터의 1 버튼을 클릭하고 팝업 화면에서 2 버튼을 클릭합니다.
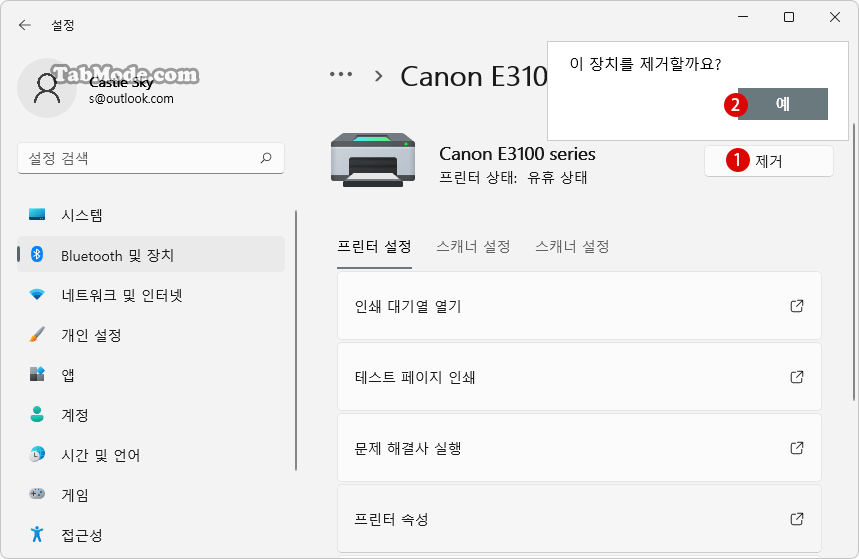
▼ 결과, 프린터 장치가 삭제되었습니다.

제어판에서 프린터 삭제하기
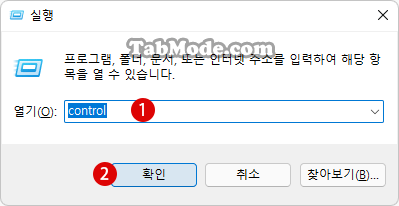
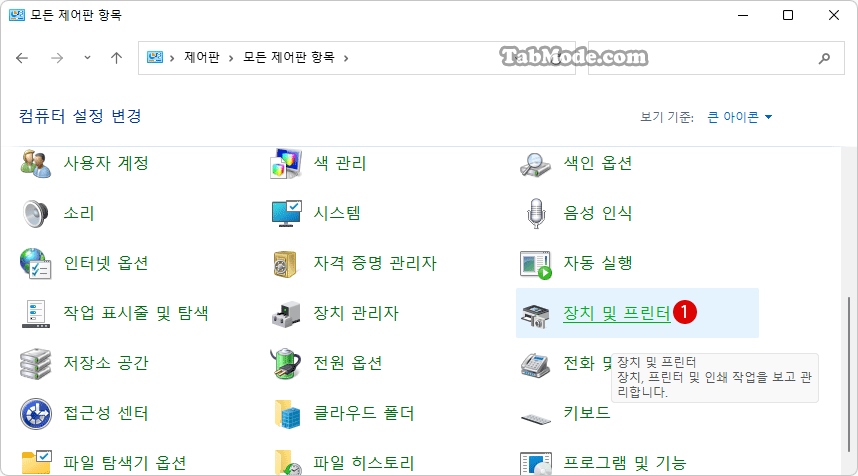
▼ 키를 누르고 실행을 엽니다. 텍스트 입력 상자에 1control 또는 C:\Windows\System32\control.exe라고 입력한 후, 2 버튼을 클릭합니다.
▼ 1장치 및 프린터를 클릭합니다.
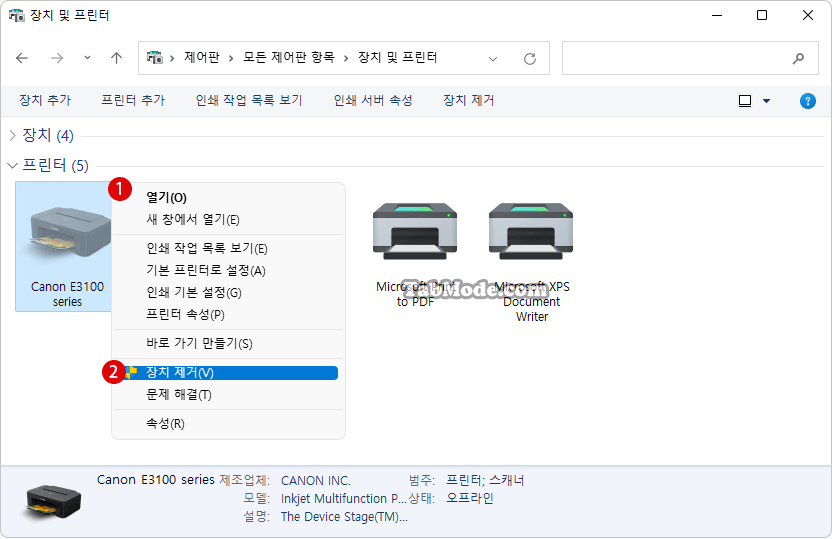
▼ 프린터 섹션에서 삭제하고 싶은 1프린터를 마우스 오른쪽 버튼 클릭하여 컨텍스트 메뉴에서 2를 선택합니다.
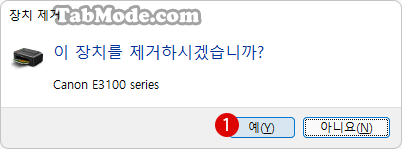
▼ 장치 제거 다이얼로그 박스에서 1 버튼을 클릭합니다.
장치 관리자에서 프린터 삭제하기
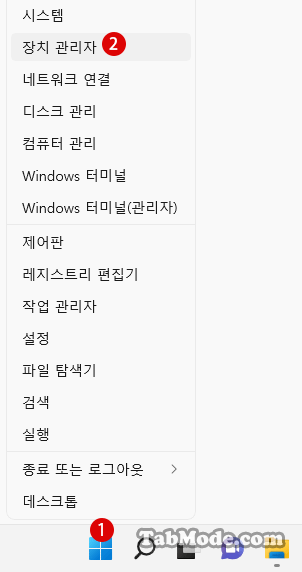
▼ 버튼을 마우스 오른쪽 버튼 클릭하여 1장치 관리자를 클릭합니다.
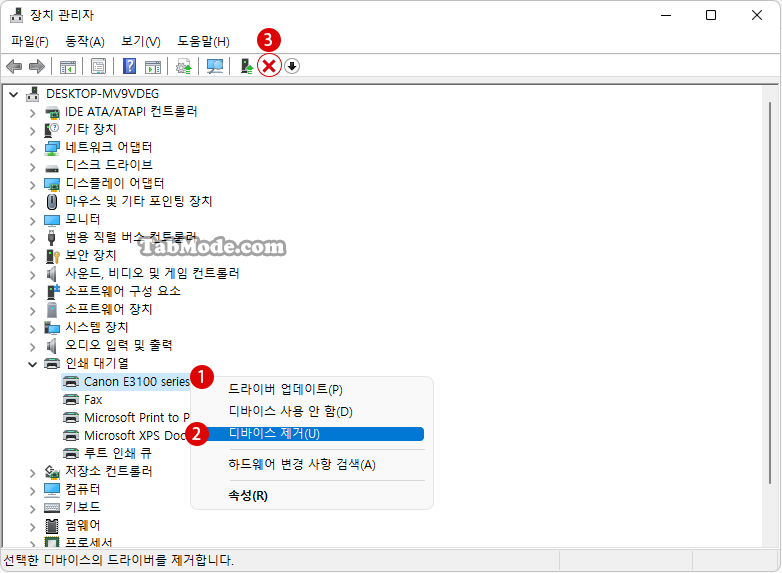
▼ 장치 관리자 화면에서, 1인쇄 대기열의 1프린터를 마우스 오른쪽 버튼 클릭하여 2디바이스 제거를 클릭합니다. 또는 프린터를 선택한 후에 3을 클릭합니다.
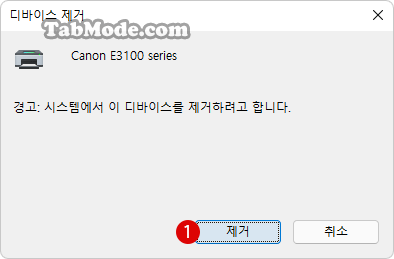
▼ 1 버튼을 클릭하여 삭제합니다.
인쇄 관리에서 프린터 삭제하기
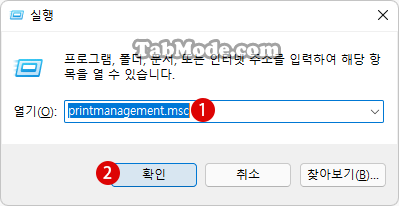
▼ 키를 누르고 실행을 엽니다. 텍스트 입력 상자에 1printmanagement.msc라고 입력한 후, 2 버튼을 클릭합니다.
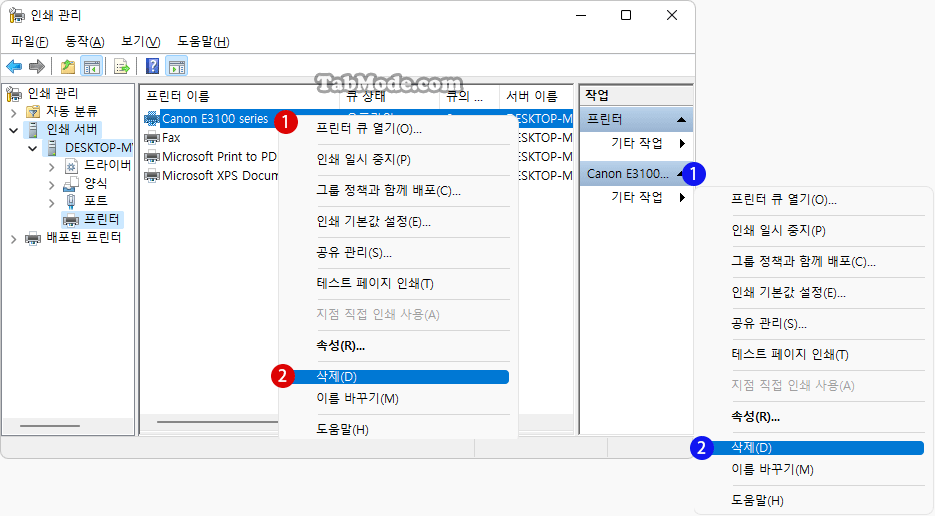
▼ 왼쪽 창에서 《인쇄 서버 > 로컬 프린트 서버 > 프린터》를 클릭/탭합니다.
가운데 창에서, 1삭제할 프린터를 마우스 오른쪽 버튼 클릭하고 2삭제를 선택합니다. 또는 오른쪽 창에서 1삭제할 프린터를 클릭하고, 2기타 작업 > 삭제를 선택합니다.
▼ 다이얼 로그 박스에서 1 버튼을 클릭합니다.

프린터 폴더에서 프린터 삭제하기
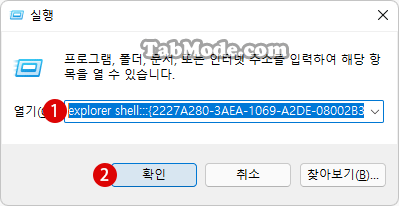
▼ 키를 누르고 실행을 엽니다. 텍스트 입력 상자에 1explorer shell:::{2227A280-3AEA-1069-A2DE-08002B30309D}라고 입력한 후, 2 버튼을 클릭합니다.
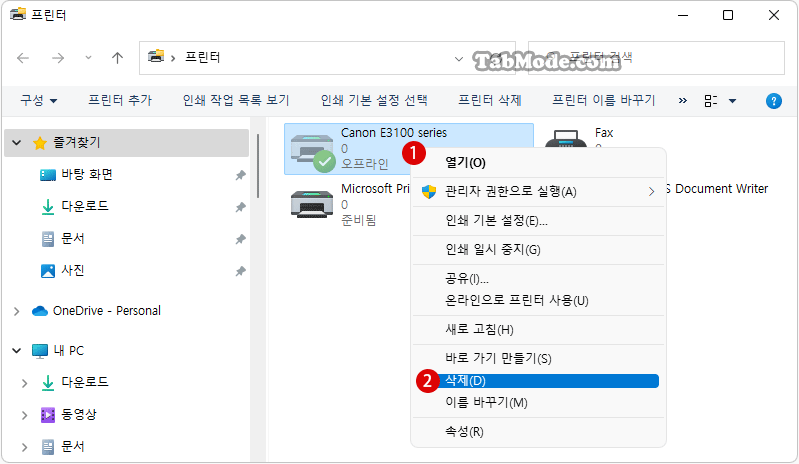
▼ 1삭제할 프린터를 마우스 오른쪽 버튼 클릭하고 2삭제를 선택합니다.
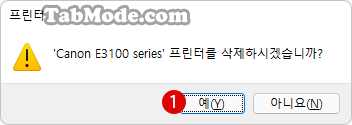
▼ 다이얼 로그 박스에서 1 버튼을 클릭합니다.
Windows PowerShell에서 프린터 삭제하기
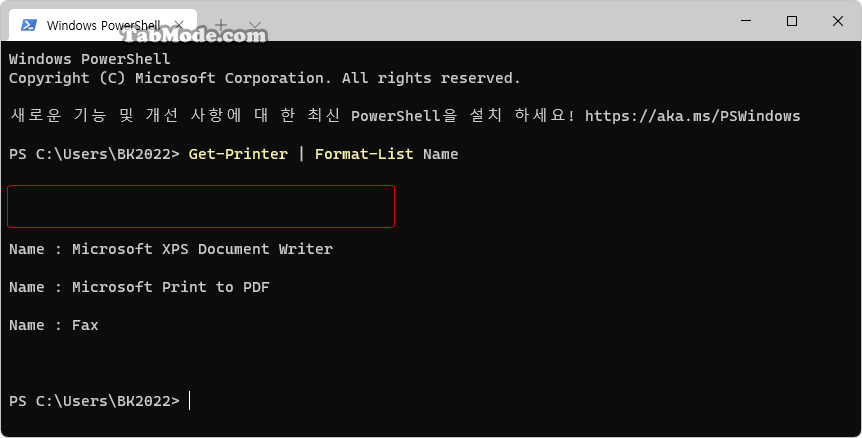
▼ Windows 터미널을 시작하고 Windows PowerShell을 엽니다. 이하의 1명령어를 복사하여 PowerShell에 붙여넣고 키를 눌러 실행합니다. 결과, 2프린터 목록이 표시됩니다.
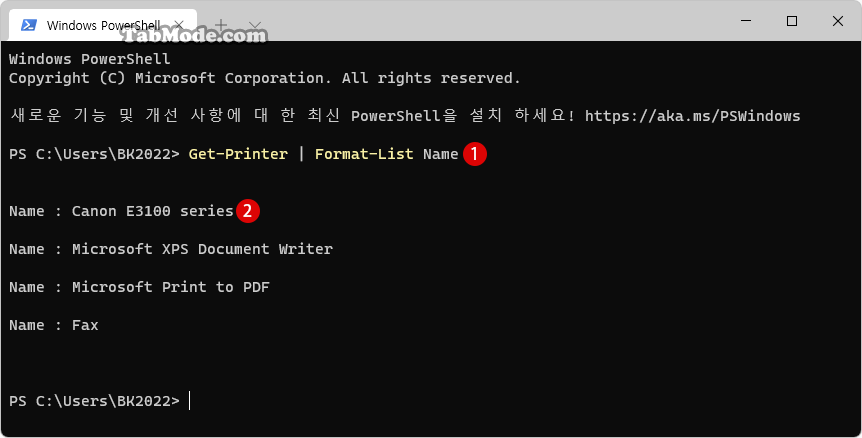
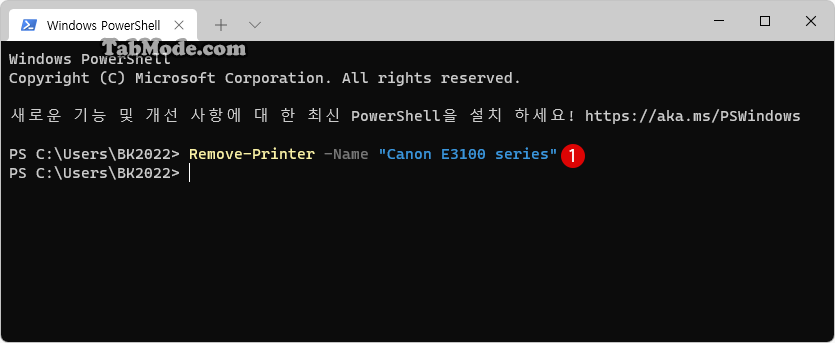
▼ 1Remove-Printer -Name “프린터 이름” 명령어를 입력하고 키를 눌러 실행합니다.
▼ 다시, 명령어를 입력하여 프린터 목록을 보면, 삭제 대상의 프린터가 삭제된 것을 알 수 있습니다.

관련 POSTs
- Windows 11 로컬 그룹 정책에서 기본 프린터 관리를 활성화 또는 비활성화하기
- Windows 11에서 프린터 드라이버를 삭제하는 방법
- Windows 11에서 네트워크 프린터를 공유하는 방법
- Windows 11 바탕 화면 아이콘의 바로 가기 메뉴에서 속성 숨기기
- Windows 11 파일에 태그를 추가하여 쉽게 검색하기
- Windows 11 22H2를 로컬 계정으로 클린 설치하기
- Windows 11 작업 표시줄을 완전 투명하게 설정하기
- Windows 11 로그인 시 프로그램 자동 실행하기